A student’s guide to getting started with piktochart
Содержание:
- Communication
- What to Keep in Mind When Designing a Timeline Infographic
- Not One-Size-Fits-All
- Insert graphics
- What Is The Timeline Layout For?
- Start Designing and Creating
- When to Use The Timeline Layout (and Not The Roadmap Layout!)
- Visualize your data
- Project Management
- Brainstorming
- How To Use The Timeline Layout In 3 Different Ways
- Step 1: Pick a Template
- Step 4: Print it Out
- File Sharing
- Look at your audience.
- Pick A Format
- Out With The Old, In With The New with Katherine Maloney
- Look at your product/service.
- Promote Your Event
- Pick a template
Communication
Concept Inbox
Enables tracking of changes and app prototyping
€14 to €99 ($17 – $118) per month ranging from one user with three projects to 10 team members with unlimited projects
Flock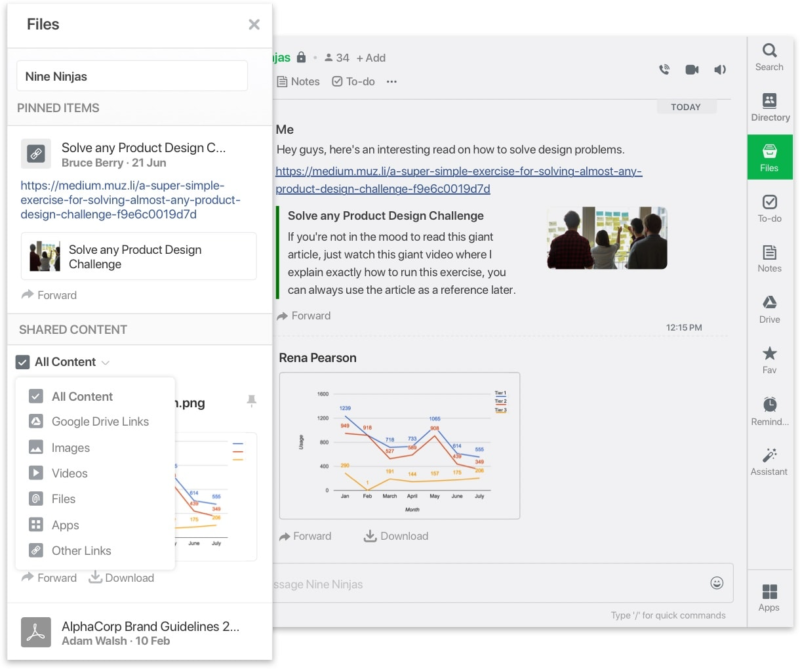
Users can convert discussions into tasks with to-do lists
$0 to custom monthly pricing ranging from 10K searchable messages and 5GB file storage to unlimited searchable messages and 20GB storage
Toll-free conferencing option
$19 to $49 per month ranging from 10 to 100 participants
Free
Offers private recording
$0 to $29 one-time fee
Ryver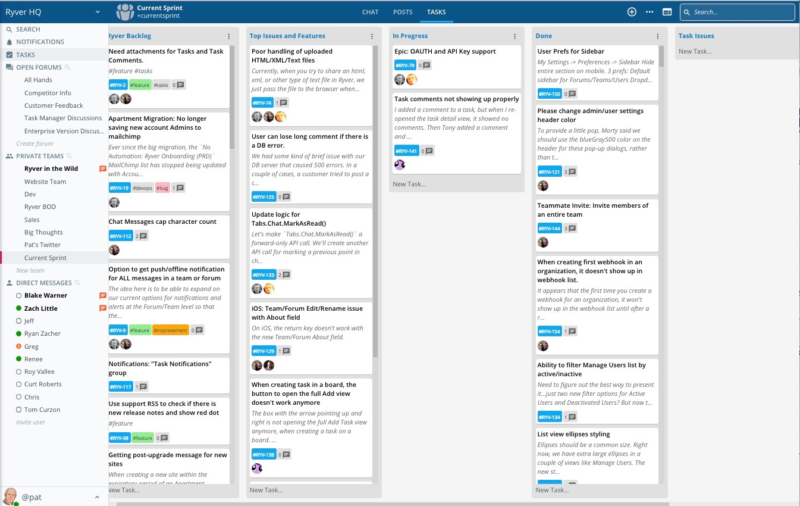
Voice conversation functionality
$0 to $99 per month ranging from 6 to an unlimited number of users
Slack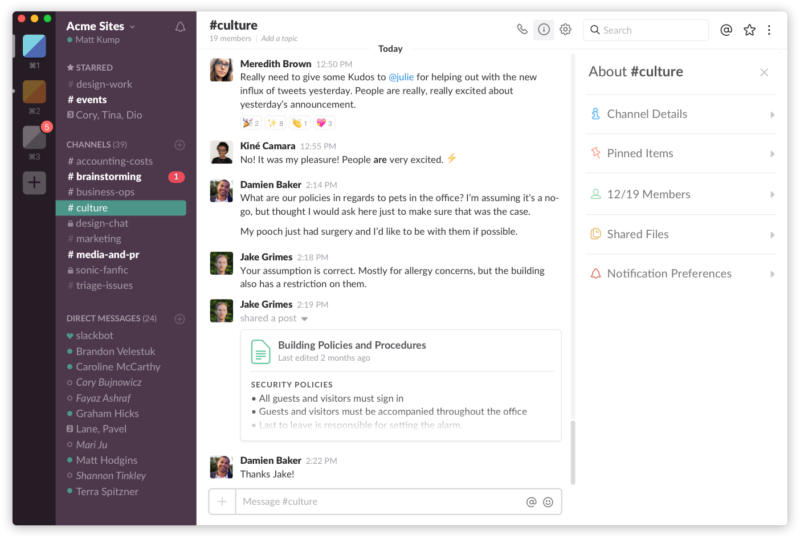
Offers an enterprise version with additional administrative, compliance, and security features
$0 to $12.50 per user per month
What to Keep in Mind When Designing a Timeline Infographic
Now that we’ve covered the 3 most common ways of using the Timeline Layout, it’s time to get your hands dirty and start designing your first infographic! But before you do, I want to share some ‘secret’ tips and guidelines from our own design team.
You don’t need to follow all of them, but they can be a helpful guide if you aren’t sure if something is right.
The Do’s – Or Things To Imitate
Use labels. A Timeline infographic usually has dates, locations and events labelled.

The time scale is flexible. Time scale can range from hours to years to millenniums. It depends on what you are trying to illustrate – history may involve centuries, but a product roadmap may only involve months.
Keep things short and concise. Focus on what’s important – which is dates and facts. If too many elements are used, it can affect the timeline. For instance, the use of icons in a timeline infographic should be minimal, and shouldn’t bethe center of the design.
Alignment isn’t necessary, but proper spacing is. if you have content on both sides of the timeline (this is usually true for the Centered format), make sure to create proper spacing between all elements, otherwise it will be hard to know what comes first chronologically.

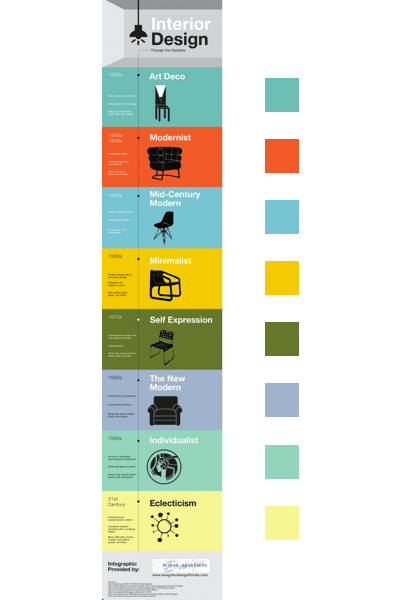
Use colors wisely. A great tactic is to use different colors to represent different periods – every different colored block could be a different point of time, Check out this great example here. In the example, the designer uses 8 different colors (plus grey for the header and footer), but the same effect can be achieved by alternating two different colors.
Focus on time. Put dates in circles to focus people’s attention on time. This will also create some blank space you could use to add content, like a description and other elements. Our Timeline template is the perfect example.
Don’t’s – Or Things To Avoid
Stick to a line. If you are a beginner without much experience designing infographics, stick to a line and not a curve – it creates a more straightforward and easy-to-read design, as people want to find dates and facts easily without having to put much effort into it. Remember, the Zigzag format is only for seasoned experts!
Don’t include date ranges. Date ranges are ambiguous. Instead, always use firm dates. This makes it easier for any reader to understand. Take a quick look at this example. It showcases a few things to avoid!

Not One-Size-Fits-All
Despite the abundance of collaboration tools on the market, their effectiveness depends on how they are deployed within a company. Each organisation needs to choose software that can help them meet their goals and that suits the way their teams work.
For instance, one study shows that “technical difficulties” are a major problem in the use of collaboration tools, and that many employees feel that their company failed to understand the business needs before implementing technology.
On the other hand, when employees get a say in choosing collaboration tools, they are more engaged in using them.
So remember that in the end, the tools can only be as good as their implementation.
Insert graphics
Just click or drag-and-drop the graphics you need from the menu to your canvas. There are thousands of icons and images to choose from. Use the search tool or browse through them by categories to make things easier. This may be obvious, but try to use images and icons that relate to your project and help your classmates or teachers understand the subject and your point better.
You can also customize how your graphics look by changing the colors, resizing and rotating them. Our Photo Frame feature allows you to drag and drop your photos into ready-made designs that will mask and pair your photos with text. These would be good to use if you are trying to introduce a portrait of a historical person or something along those lines.
What Is The Timeline Layout For?
The Timeline layout is perfect if you need to portray a sequence of events or a story in chronological order, but there are many more applications to the Timeline layout. Let’s discover some of them!
History. The most obvious use for the timeline layout is portraying historical facts in chronological order. Whether you are a history teacher, a student with history homework, or someone interested in historical facts, the timeline layout is the perfect infographic layout for you.

Chronology. Although similar to the History use case, the Timeline layout can also be used to portray chronological transformations. This use case is particularly useful to depict the evolution of a particular object.

Biography. Another perfect case for the Timeline layout is portraying the sequence of events in someone’s life, or in other words, a biography. Whether you are studying or researching someone else’s life, the best way to share it with students, peers and teachers is with an infographic.

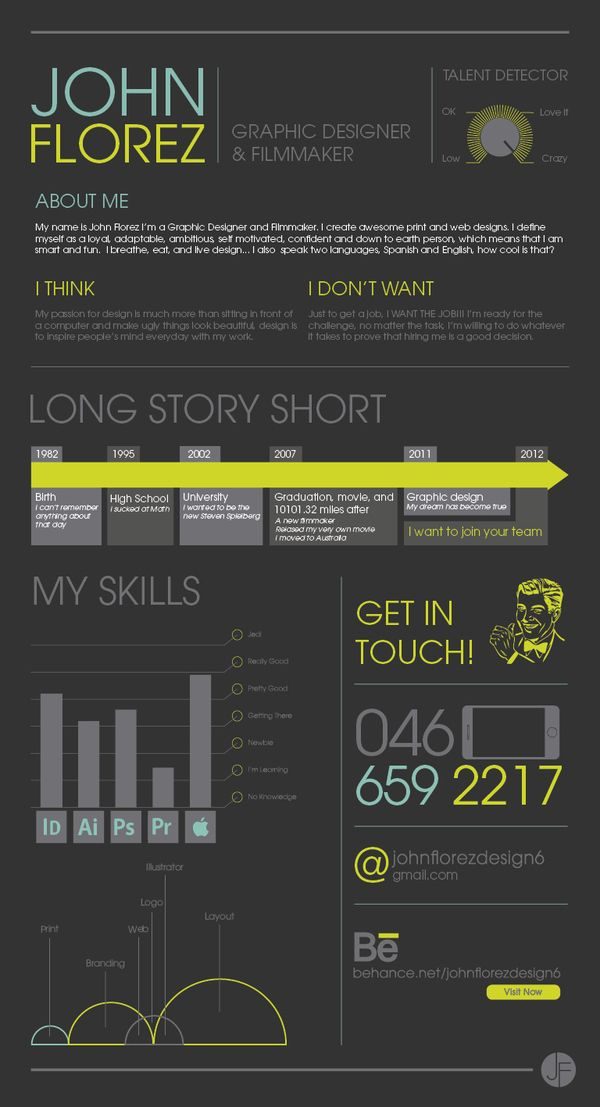
Resume/CV Infographic. Besides representing someone else’s life, you can represent your own! If you are looking for a new job, applying to college, or trying to raise money for your business, the Timeline Layout can be used to illustrate your career and qualifications in the form of a CV infographic. This really works!
Project Management. Project management is an extremely complex and time consuming task. There are countless tools online but sometimes, simplicity is the best path. Instead of Trello or Asana, you could use the Timeline Layout to illustrate a product roadmap in an easy-to-grasp infographic.

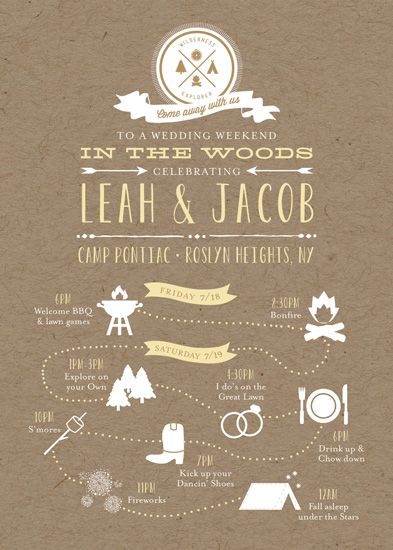
Organization/Schedule. Imagine your company is organizing a week-long retreat for all employees to meet, have fun and decompress. You could use the Timeline Layout to relay the itinerary!
Start Designing and Creating
Once you’ve decided on a template, click “create” to load it. Once you arrive at the editor, you can edit text by double-clicking on a text box. Definitely start by adding your project title to keep you focused on your school project. Use the color and font selectors to make the text fit your style. Resist the temptation to use more than three or four colors in your project though! You don’t want your teachers getting distracted from your message.
Speaking of text styling though, you can use our Text Frame tool to make text and titles with graphics created by our in-house design team. We have plenty of themes available so hopefully one will fit the topic of your school project. Super easy.
When to Use The Timeline Layout (and Not The Roadmap Layout!)
If you recall, last week we broke down the Roadmap Layout. This might generate some confusion, because both layouts are similar and focused on a sequence of events. However, there are a few fundamental differences that revolve around approach and content:
- Roadmap is used to visualize the “how” and “why” and timeline answers the “what”, “when” and “where”.
- Roadmap explains steps, instructions, guidelines, or plans; timeline tells a story in chronological order.
- Roadmap is more flexible and focuses on progression, while timeline is more of a project overview.
- Roadmap has a goal or a conclusion, timeline usually does not.
Visualize your data
Use the tools available in the left sidebar to visualize your data. There are tons of options to create charts, graphs, and maps that can be customized to beautify your data. Of course, this depends on if you have data to represent but it’s always good to have something to backup whatever point you’re trying to make. In addition to impressing them with your design, it will ultimately make your argument stronger and easier to digest.
A popup will appear to help you choose the best chart style for your data, coupled with a spreadsheet to input your data. If you want, you can connect the chart to a Google Sheet (if you use it for school). As you update the data in the Sheet, the graph will change as well.
Project Management
Users can appoint admins to control usage
On request (Enterprise)
Backlog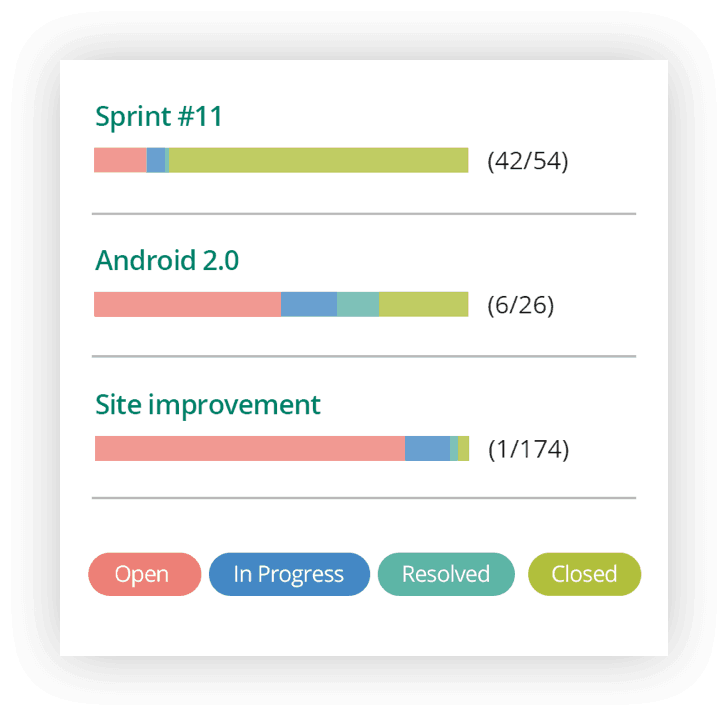
Mobile and tablet apps
$0 to $175 per month or $1,200 per year, ranging from 10 users working on one project to enterprises with unlimited projects
Basecamp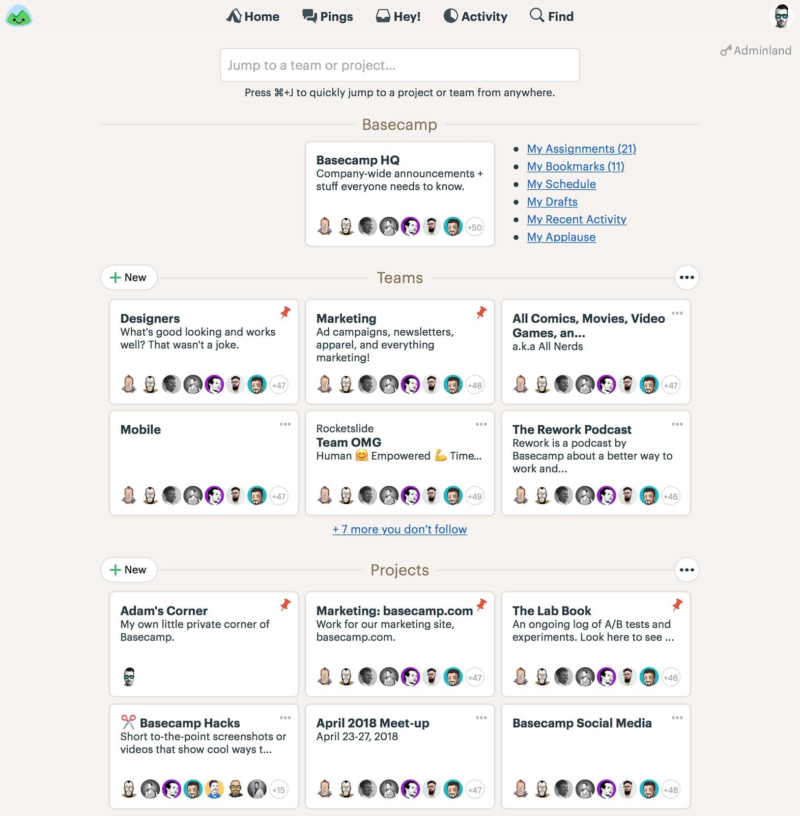
Reports across every team and project
Discounts for teachers, students, and non-profit organisations
Drag and drop documents
Custom pricing for 200+ users
Bug and issue tracking
$10 to $700 per month, ranging from 10 to 100 users
Built on top of an open API so it’s great for developers
$0 to $24 per month
ProofHub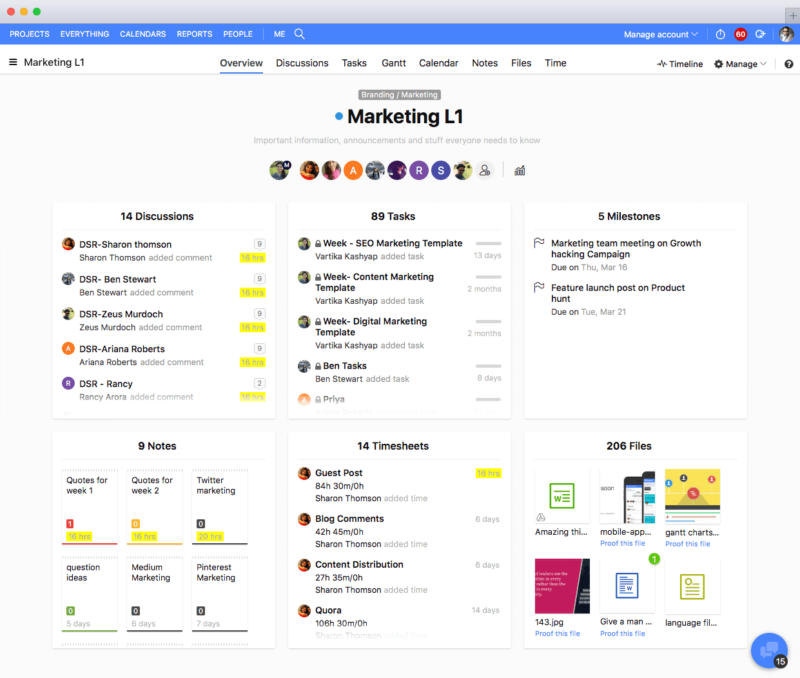
Comes with IP restriction capabilities for security
$50 to $99 per month ranging from 40 projects and 15GB storage to unlimited projects and 100GB storage
Comes with mobile app
€19 to €49 a user per month
Varied deployment options, including public cloud and on-premise
On request
Allows creation of branded boards
Free
Capabilities for creating job costs and purchase orders
Optional upgrades
Easily scalable
Price on request for enterprise plan
Brainstorming
The company also offers an online creativity ‘academy’
Free
Drag and drop images; add floating text and images
$0 to $8 a member per month
ConceptBoard

-
- Brainstorm directly in the unlimited boards or collect all ideas there
- Every team member can add sticky notes or scribble thoughts and ideas
- Enables faster review and approval cycles
-
- Free plans with unlimited boards are available
- Premium plans starting at $7 per user a month
- For on-premise solutions, individual offers are created via the pricing plan
GroupMap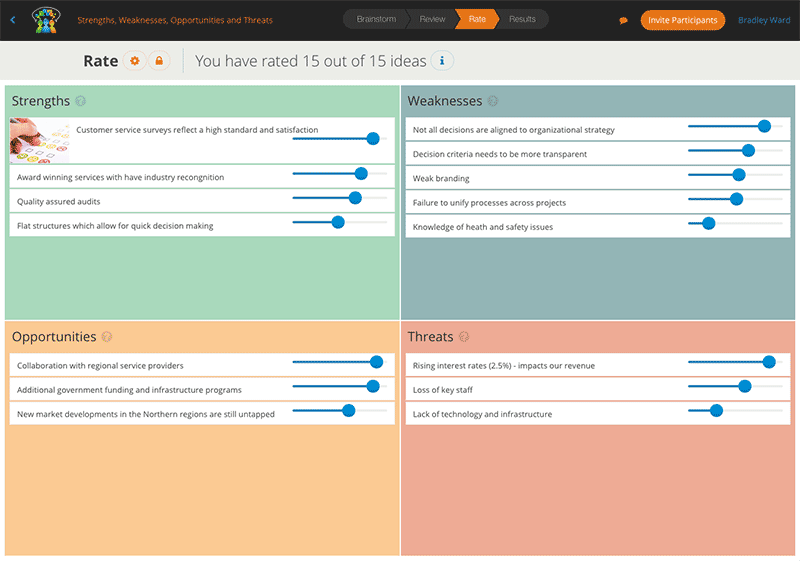
Comes with a reporting function for transparency
$0 to $100 per month ranging from 1 to multiple map creators
Highly suited to sales teams
$0 to $9.95 per month
MindMeister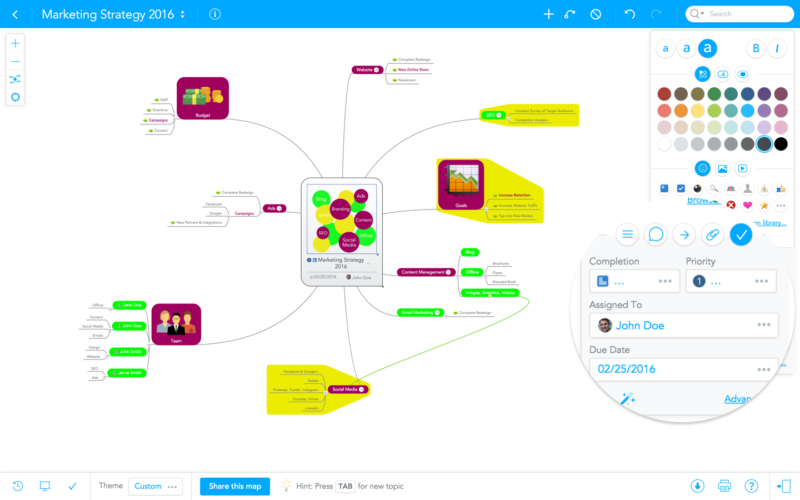
Comes with built-in presentation mode
$0 to $12.49 per user month ranging from basic to business deployments
Notism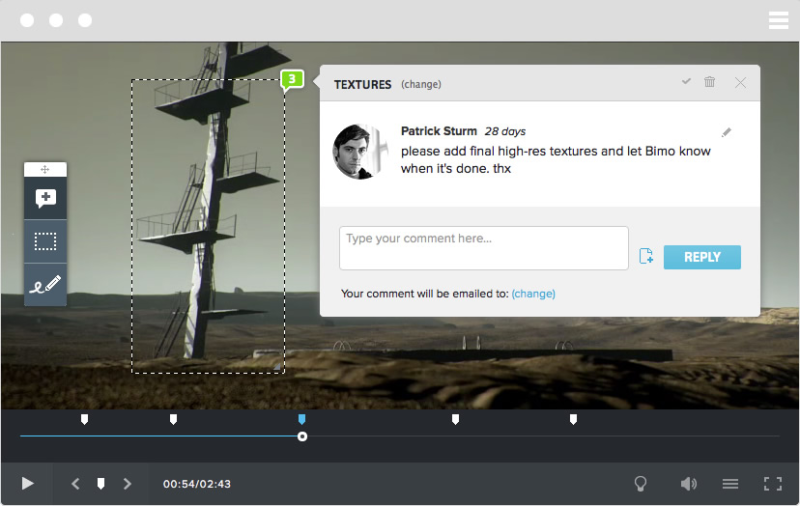
Easy to switch forth between past and current versions
$7.65 to $41.65 per month ranging from five projects with five collaborators to 40 projects with 40 collaborators
How To Use The Timeline Layout In 3 Different Ways
The Timeline Layout is a super versatile design that can be portrayed in 3 different ways, each with it’s own advantages and disadvantages.
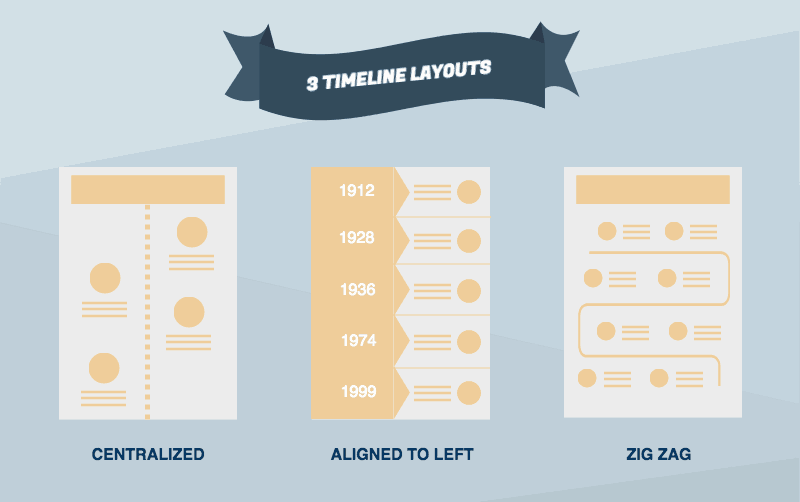
1 – Centered. The centered format is perfect for depicting historical or chronological sequences. It’s based around a centralized line that sequences events in a specific order. This format is usually simple, and each event or sequence is marked by an icon, and a short description.
Some of our Piktotemplates that use the centered format are Timeline and Journey of Love!
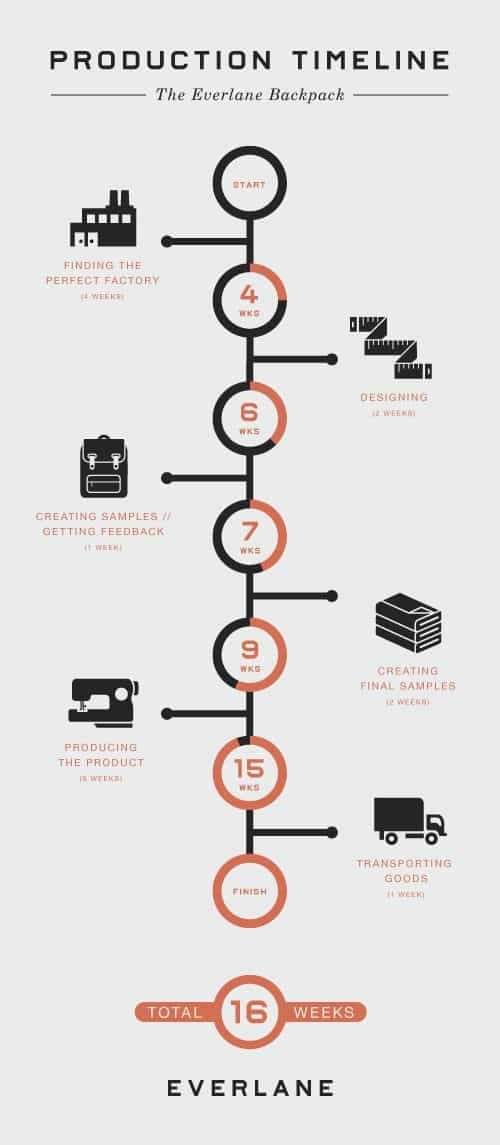
2 – Aligned to the left. If you need to portray history, someone else’s biography, or your career resume, the aligned to the left format is perfect. It boasts an aligned to the left, vertical timeline that outlines when each event happened. It’s extremely useful when you need to feature more content, or offer a more detailed explanation of each event in the sequence.

Some of our Piktotemplates that use the aligned to the left format are CV and Infographic Resume 2!
3 – Zigzag, or curved line. This format is similar to the roadmap layout. Usually, we recommend not using this format since a straight line is better for visualizing timeline. However, if you feel like taking a risk and you are comfortable designing infographics, the zigzag is a beautiful format.

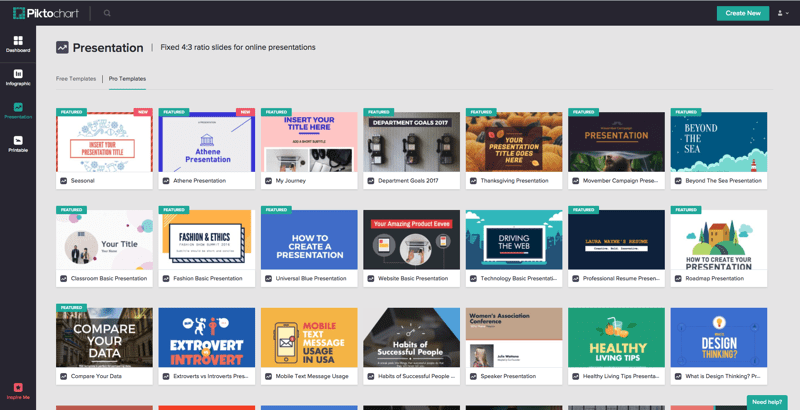
Step 1: Pick a Template
Just like with our infographics and posters, we have a template gallery specifically for presentation.
The biggest difference between creating an infographic in Piktochart and creating a presentation is size and formatting.
If you add a block to an infographic, the new block is the same size as the block above it. When it’s created, the new block is attached to the bottom of the block above it.
On the other hand, when you create a presentation in Piktochart, generating a new block will place a new “slide” at the end of your presentation. The new slides are locked at a size ratio that keeps all of your material visible while you’re presenting.
You always have the option of starting from scratch with Piktochart, but I like using the templates. They give me a much stronger starting point and can serve as a source of inspiration when I get stuck trying to express myself.
One last thing before we get into creating your presentation masterpiece. See that spot at the top that says “Untitled Infographic”? Go ahead and name your creation now. That’ll make it much easier for you (or, heaven forbid, a member of our Customer Delight team) to find your presentation later. Everything is automagically saved, but titles makes things easier to find.
Step 4: Print it Out
The last thing you’ll want to consider with your presentation is whether or not you’ll need to share it or print it out. These days, most people are happy to have a digital version to review or annotate, but some people (myself included) enjoy having something tangible to circle, underline, and actually hold.
If you need to share your presentation or slide deck in a different mode other than “in person”, Piktochart has got you covered. We’ve got a setting that’s specifically for saving (and printing) your presentation blocks.
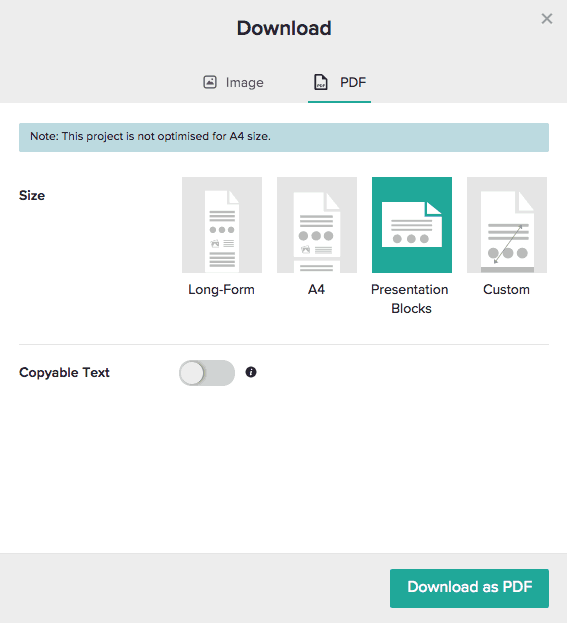
If you choose to save your creation as presentation blocks, your PDF will be paginated (or split into separate pages) based on the layout and order of your slides. You’ll want to enable the “Copyable Text” option if you plan to share the PDF file with anyone who might want to search its contents sometime down the line.
So there you have it: four easy steps to creating an amazing presentation with Piktochart. What plans do you have for using a Piktopresentation? Reporting major gains in social media engagement? A higher-than-ever customer satisfaction rating? Or maybe you want a new way to teach a topic that hasn’t exactly been the most engaging with your students? Let us know what you plan to do in the comments below, or tweet at us and tell us about your ideas!
File Sharing
Box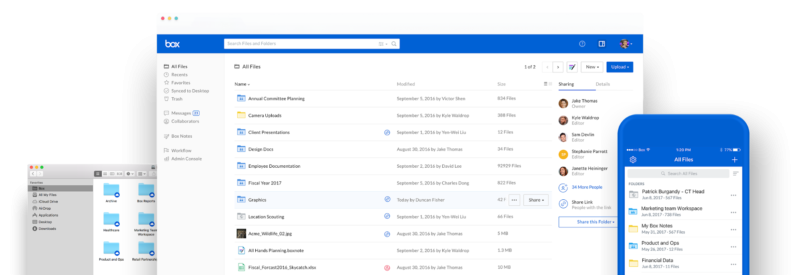
Optimized for enterprise use (workflow, cloud migration, encryption, etc.)
Price on request for enterprise plans
Dropbox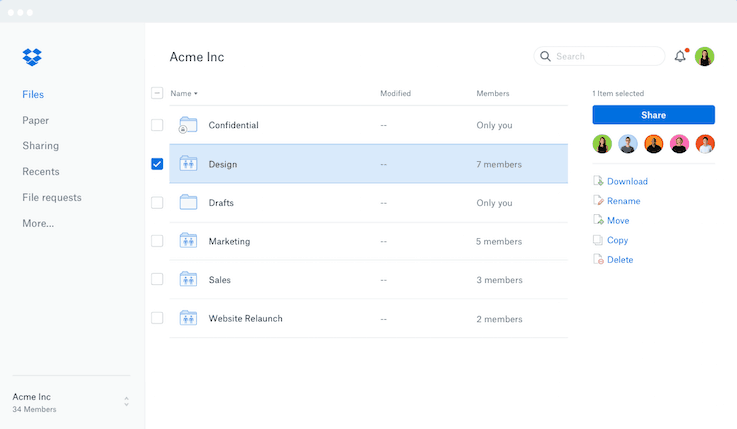
Scalable from personal to enterprise use
$8.25 per month for individual use with up to 1TB storage or $20 per user a month for teams with as much storage space as needed
Customizable privacy settings per file or folder
Options for extra storage
Hightail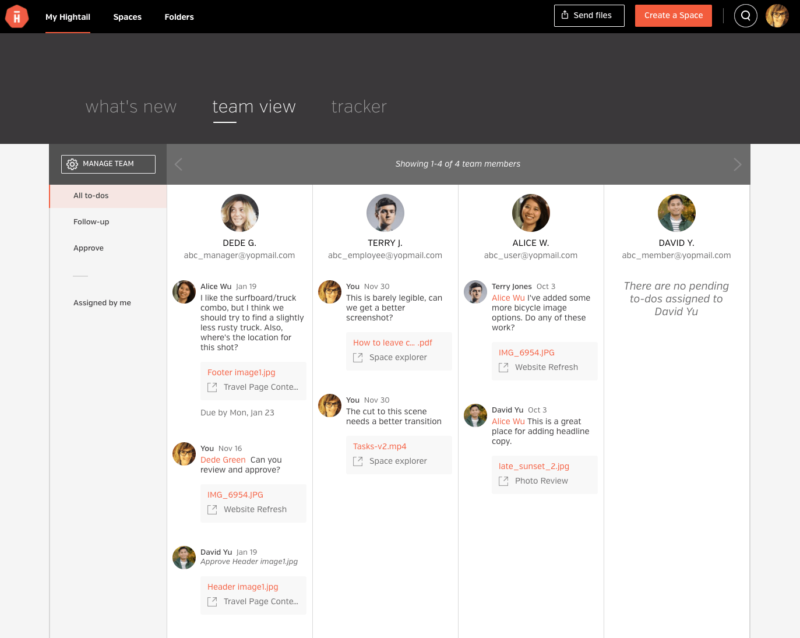
Dedicated spaces for clients to view files
$125 to custom pricing per month ranging from 3 to 10+ team members
Offers detailed security log for professional usage
$0 to $80 per month ranging from 10GB to 100TB
Supports document scanning using mobile phones
Option for purchasing Office 365 software suite
SugarSync
Files can be distributed in view-only mode
$7.49 to custom pricing per month ranging from 500GB for one user to custom storage for 10+ users
Look at your audience.
Your current and potential audience are already telling you what they want to see. Strive to be audience-centric.
20. Make demographic infographic about your current customers. It’s something they can relate to; at the same time, it piques interests from people from the same demographic but aren’t your customers (yet). E.g. Who’s Sticking To Their Diet?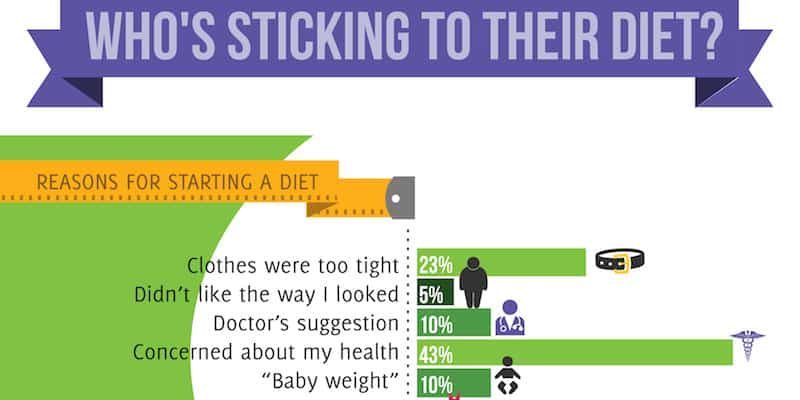
- What do your users post online? Does any of their interests match your service/product’s profile? Find that sweet spot where your business can assist your audience’s interests, and make lists like “Ten ways that can help you be a better XYZ”. E.g. $10,000 Strong And Growing
-
People love reading other people’s stories. Interview your happy customers and tell the story of how your business helps improve their mind/life/work/productivity. E.g. Helping Consumers Make Better Healthcare Decisions

Pick A Format
The very first step you’ll take when planning your event is to pick a format. Depending on the audience and also on the background of the user that you’ve chosen to host your event, your format is going to vary. Here are a handful of event formats that we’ve used in the past: 1. Presentation: This one for example was hosted in Santiago, Chile.What you’ll need: A projector and a strong WiFi connection How it works: It’s fairly straight forward. Present the content in an interactive way, then leave time for a Q&A.
2. Workshop: This is a very basic workshop we organized in Cordoba, Argentina along with the brand Yelp.What you’ll need: A comfortable space with tables or desks, a projector, a good WiFi connection, and let people know ahead of time if they should bring their own laptops. How it works: The idea here is to show people how to use the tool, as well as all its different uses. Workshops are very hands-on, and this format allows you to be as purposeful as you need to be if say, you want to teach a certain group of users about a special feature or special skill within your tool.
3. Fireside chat: A live interview and discussion with an expert. What you’ll need: The help of an expert willing to chat at length on an interesting topic which will attract attendees. Make sure that your interview is well prepared, that the questions are relevant, and that your guest speaker feels comfortable. How it works: The idea here is that you’ll want attendees to learn something from your fireside chat, and to also consider your company as a thought leader in the space.
4. Breakfast or Lunch: These are for smaller and more intimate PiktoTours What you’ll need: This will require your community evangelist to ideally be in town to organize and run this meet-up. Pick a great restaurant! How it works: The idea here is to have a one-on-one dialogue with your users, give them a chance to ask questions whether practical or technical. The aim is to get to know your users and learn more about their experiences with your product.
Find Your Target Audience
Next, you have to find your target audience.

As for smaller cities, we would keep the number to a minimum of 1-3 infographics. This number can be tweaked depending on the size of the list that you can get. And if you feel that the number justifies the event, then your first step is completed! Don’t forget to save your segments on Intercom so you can send the invite in the future. Here’s an example of filters that we set up for our PiktoTour in Sydney, Australia.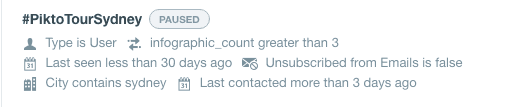
Out With The Old, In With The New with Katherine Maloney
Katherine Maloney has been teaching International Baccalaureate English and Theory of Knowledge for the past 15 years. She describes herself as a ‘mother, international educator, doctoral candidate, thinker, reader, blogger, art lover, traveler’ – and she blogs at Katscan, her personal blog on teaching, classroom tactics, and using technology to enhance learning.
At Piktochart, we’re always interested in enhancing learning through technology, so we asked her about why she chose to use an infographic syllabus.
Katherine said there was no doubt about it:
”My syllabus was in dire need of a makeover. That’s why I was so excited when my colleague Mat Fron said that he was going to try to create an infographic syllabus for the IB Language and Literature course we teach together, sharing the following example with me.

“Inspired – and not to be outdone – I quickly decided that I would try to make one, too. I created a free Piktochart account for myself and began to take a look around. I knew I wanted a syllabus that would:
- help to generate excitement about the course
- inform students of what they could expect, both visually and verbally
- be easy to modify and update
- not take me a lot of time and effort to create
“Although Piktochart also allows users to make their own unique creations, I felt that using one of their templates was probably a wiser choice given that this was my first foray into the world of infographics.
“I ended up going with the “2015 Resolution” template because it fit perfectly with the number of units that we had planned, and also because the imagery of the window and the flowers seemed apropos to the learning journey we had in mind for our Grade 9 English students this year.
“Using the template, I was able to quickly and easily plug in:
- the title of the course
- a brief course description
- the titles of our various units with images to match
- our intended learning outcomes
- the activities we had planned for the year
- our expectations of learners, and
- teacher contact details
“All within the span of about 20 minutes. The experience was quick and painless, and the final product not too shabby, even if I do say so myself.
“Now that I know how it all works, I can’t wait to start exploring Piktochart’s more advanced features, and especially to begin using it with my students.
“21st century literacy includes the ability to interpret and communicate using both words and images, and I can’t imagine a better way to introduce young learners to this skill than through the creation of their own beautiful infographics in response to the various texts, themes, and ideas that they will encounter in English 9 this year.”

Look at your product/service.
Explicit selling attempts are a big no-no. Take the opportunity to provide interesting and useful insights to your audience.
- People are usually curious about behind-the-scenes. Show how your service/product works. E.g. How Our Laws Are Made
-
If your service/product has some “instruction manual” or process, make a guideline. E.g. How Do I Choose An Infographic
-
If your service/product exists in a competitive market, showcasing interesting or novel uses of the service/product will give you points for creativity. E.g. Our 10 Cool Ways To Use PDFs
-
Share tips, cheat-sheets, hacks to your service/product. This makes it easier for new users to get on board and old users to improve their workflow. E.g. Layout Cheat Sheet: Making the Best Out of Visual Arrangement
-
Compare the newer versions of your service/product to the older ones like “This year versus last year”. People love seeing growth and improvement. E.g. Olympics: Then vs. Now
-
Returning visitors do not want to be pitched. But potential customers want to know what makes your service/product better than others to make decision. Creatively highlighting key features of your service/product will help to convince your customers-to-be. E.g. 10 Reasons To Visit Reykjavík, Iceland
-
People use your product/service to achieve a goal. So make guidelines about how to achieve that goal while subtly including your service/product as part of the process. E.g. How To Make Your Takeout & Frozen Meals Healthier
-
Look at your business’ social media channels. Any status or photo you shared got liked, shared, favorited, or retweeted much more than others? Build on that viral content- turn them into a visual story. E.g. Post, Pin & Tweet: The Best Time To Outreach (Added plus: this infographic gives you some tips on how to make content viral)
10. Explain your core values, most users want to know “Who You Are?” – whether it’s improving the lives of your users or saving the environment. The ‘Hows’ and ‘whys’ are always important too. E.g. Malbec 101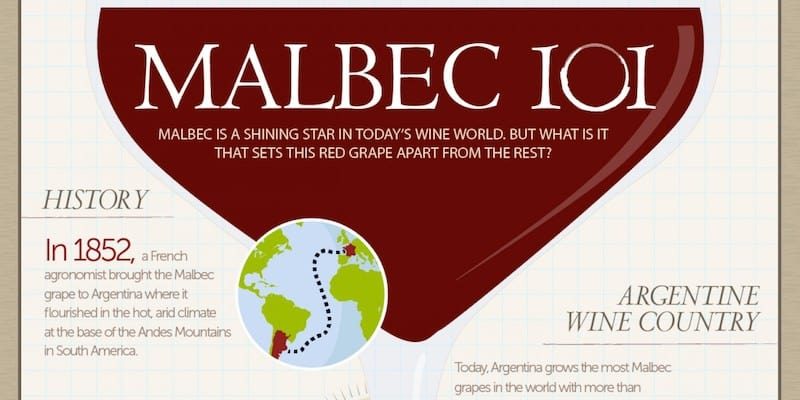
Promote Your Event
When did they last log-in to the site
2. Social channels: We also use our social channels to spread the word about the PiktoTour. If it’s a high demand event, we actually wait to post about it just before it happens. This way, we won’t have surprise RSVPs, but we’ll also be able to communicate our worldwide brand to our community via our social channels.
To add, we also post a photo from the PiktoTour right after the event as it helps build awareness about our meetup and also get our users excited for the next one. We’ve found that it’s through these social media posts that we get proposals to run PiktoTours from users in their cities.
3. Marketing visuals: Now it’s time to work on some visuals for the event, which can range from event flyers to posters.
We have a large selection of poster and event flyer templates in Piktochart, running the gamut of most events under the sun. Here are some of our favorites that would be a great fit for an event series.
01. Angular City – Interactive Conference Flyer

Edit this flyer template in Piktochart!
02. Ocean Overlay – Save The Date Flyer
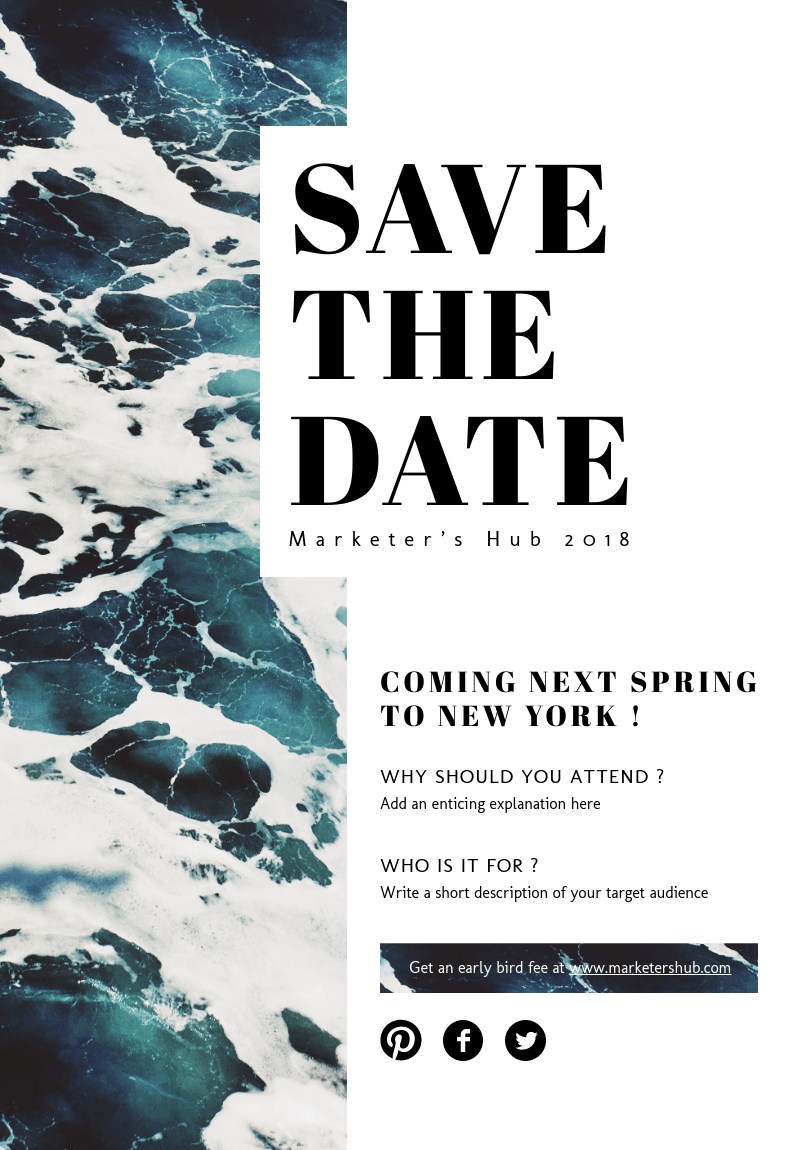
Create this save the date flyer now!
03. Square Cityscape – Hackathon Invite Flyer
04. Startup Central – Entrepreneur Event Flyer
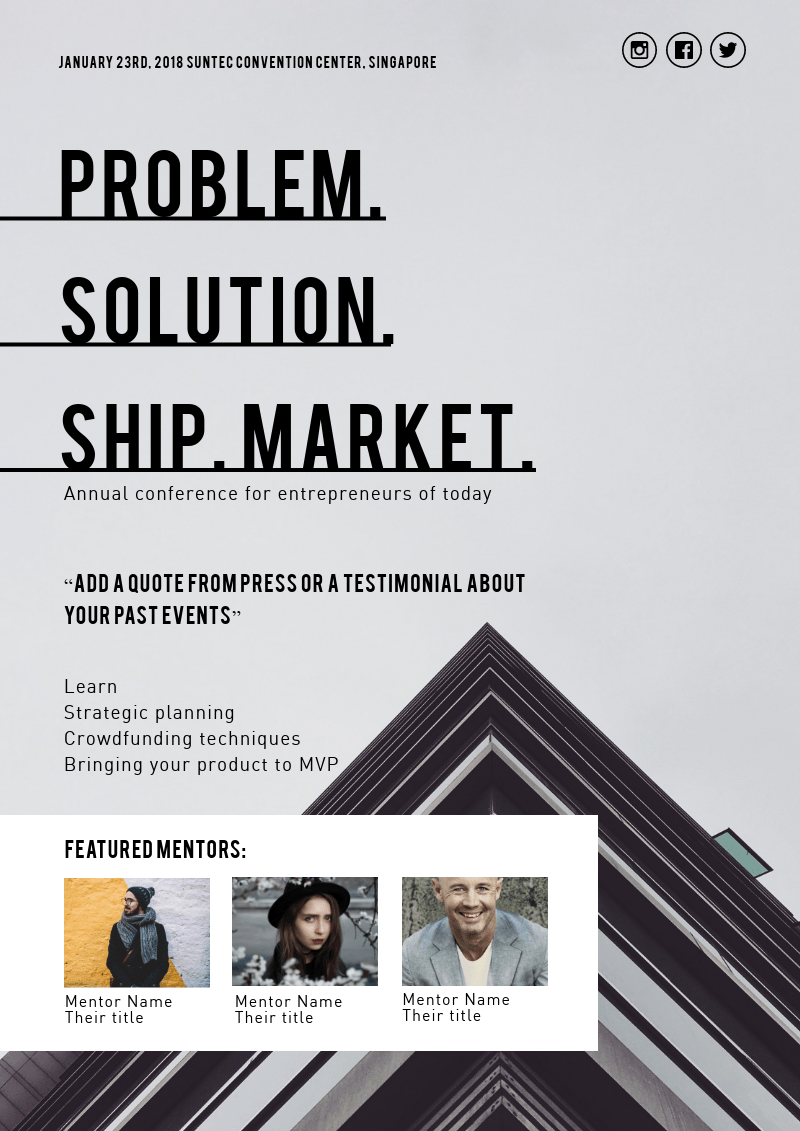
Edit this event flyer template now!
05. Urban Brushstroke – Business Conference Flyer
Create this conference flyer here!
06. Black/White Abstraction – Design Event Flyer

Make your design event flyer here!
07. Angular Inspiration – Leadership Conference Flyer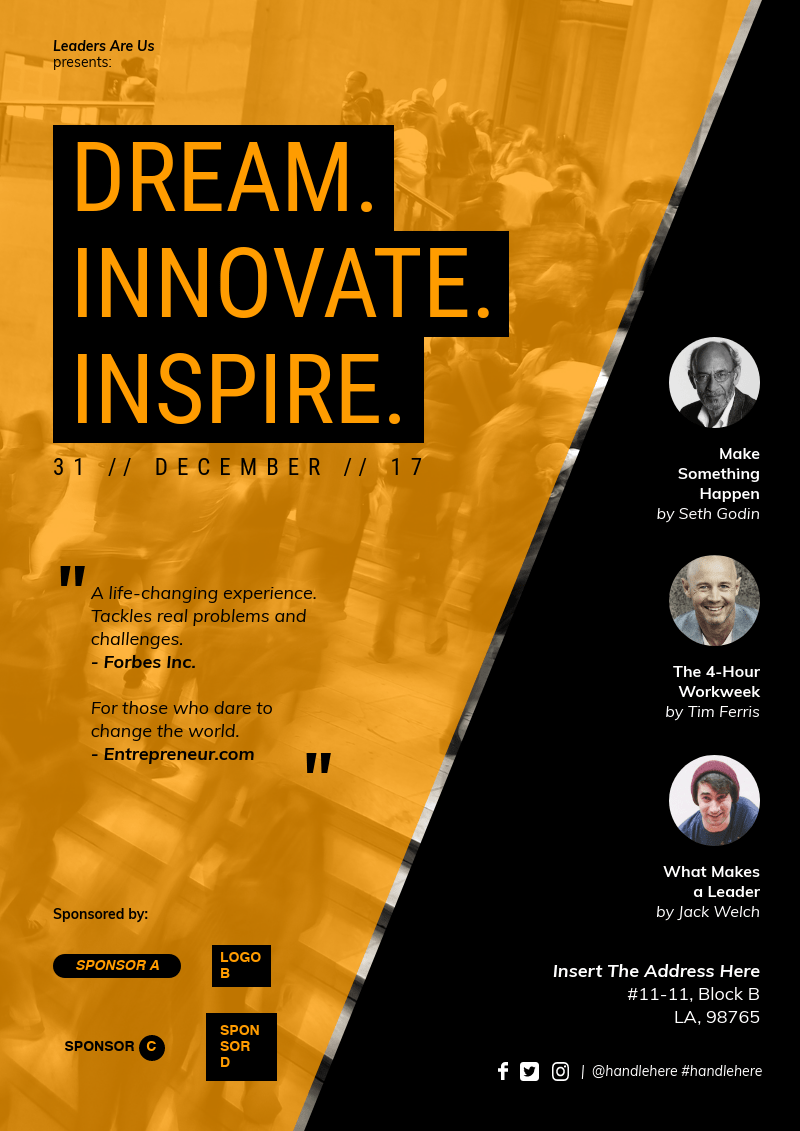
Edit this event flyer in Piktochart now!
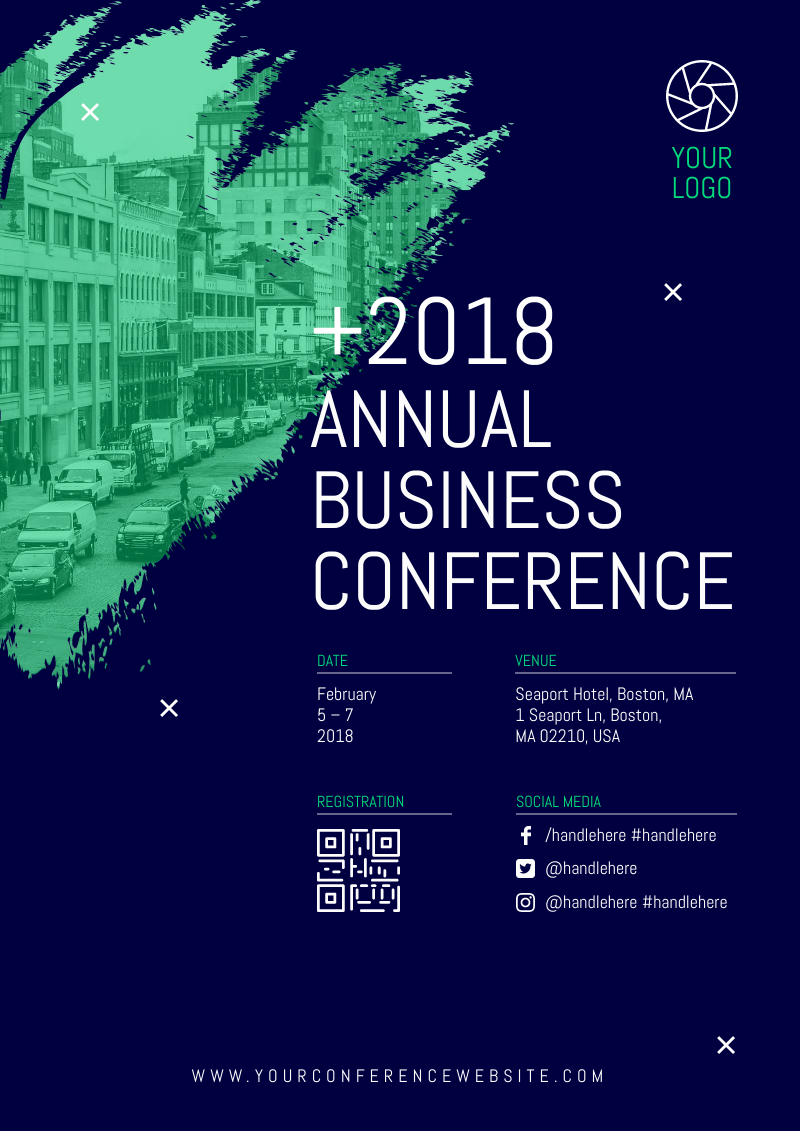
08. Blue Sky Business – Business Conference Flyer
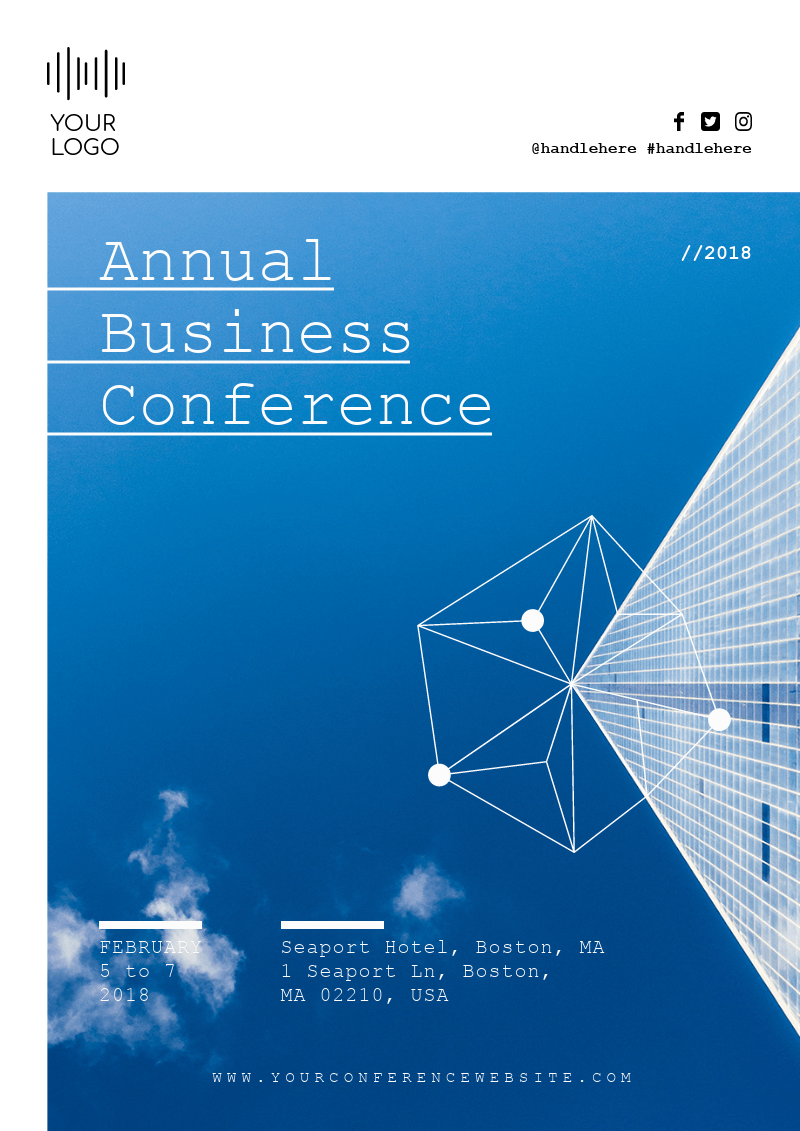
Create this business conference flyer now!
09. Graph Paper Necessities – Minimalist Leadership Event Flyer
Create this leadership event flyer now!
10. Pastel Overlay – Design Event Flyer

Edit this design event flyer in Piktochart now!
11. Playful Shapes – Career Fair Flyer

Create this career fair flyer now!
We hope you were able to takeaway some event planning tips from our PiktoTour preparation guide. Our event series has, over the years, provided incredible opportunity for us to get to know our users more intimately – and our product has changed a lot due to these meetups. We’ve been so grateful to all of this offline inspiration.
Wishing you the best of luck in your event series creation. As always, reach out to us on social media if you’d like to connect. Happy Piktochart-ing!
Pick a template
Here are all the templates to help you get started. We have made the selection process as easy as possible for you:
- Try scrolling through the hundreds of templates. We’ve got them sorted by type – Infographic, Report, Poster, and Presentation– so look for a layout that inspires you (or one that goes with your topic). These formats will certainly aid you in that science poster, history presentation or economics report.
- If you’re looking for a particular idea or theme (like “sports” or “history”), you can use the search bar.
- We recommend keeping an eye out for a layout that works for you. For example, if you’re doing a biography, think timeline layout or a versus template to compare and contrast two subjects.
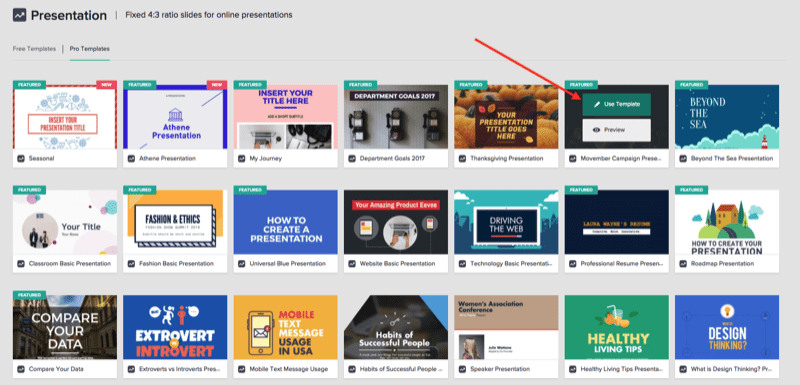
- Once you think you’ve found one you like, click “Preview” to take a look in more detail.